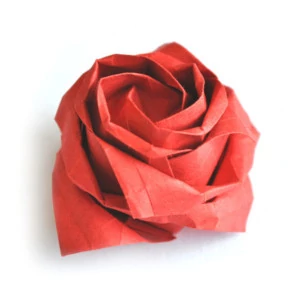
Kawasaki Rose
Rose, designed by Toshikazu Kawasaki, folded from a single square paper
A brief introduction to origami
Origami is the art of paper folding, originating in
Japan. Although paper folding has been done since the
invention of paper by 蔡伦 (Cài Lún) in China,
Japanese paper folding has been a very influential tradition.
The basic idea is to create figures just by folding mostly
square sheets of paper. In general, this doesn't require
any cuts or glue.
We often try to picture objects from the real world.
Due to the properties of the paper, it is possible to make
two-dimensional, as well as three-dimensional models.
At the same time, you can have a lot of fun for a while,
depending on the difficulty level of the model, relax, and
improve your fine motor skills and spatial imagination.
One of the difficulties to overcome is the correct execution
of folding steps in order to attain the final result.
This can be particularly hard if the paper becomes smaller
and thicker after folding many layers. Besides, there are
numerous folding techniques, whereof some fundamentals are
described under the section
Folding technique and diagrams,
whereas others can be more challenging.
The creation of new models is especially remarkable.
This requires not only creativity but also a good
understanding of some essential key concepts, like the
knowledge of how to work with crease patterns.
A first step to exploring crease patterns can be to unfold
something you have already folded and examine the visible
folds and how they reappear in the finished model.
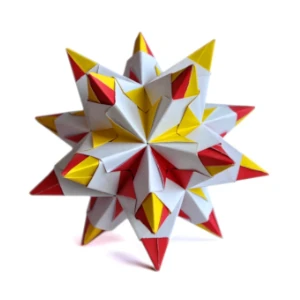
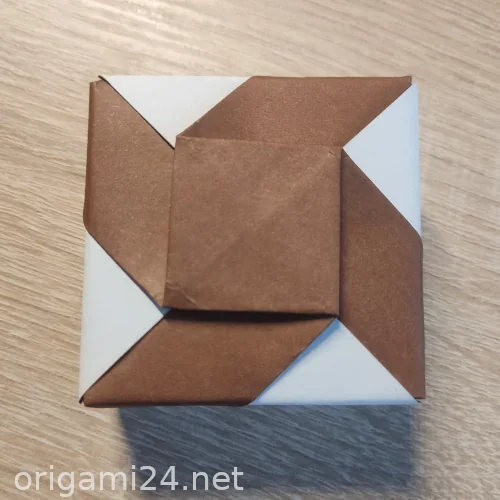
While it is indeed mostly unnecessary to use scissors
and glue, there are quite a few models which are assembled
from multiple components. These modules are each
made from a single piece of paper, and the particular
technique is called modular origami.
Famous examples of modular origami are Tomoko Fuse's
boxes.
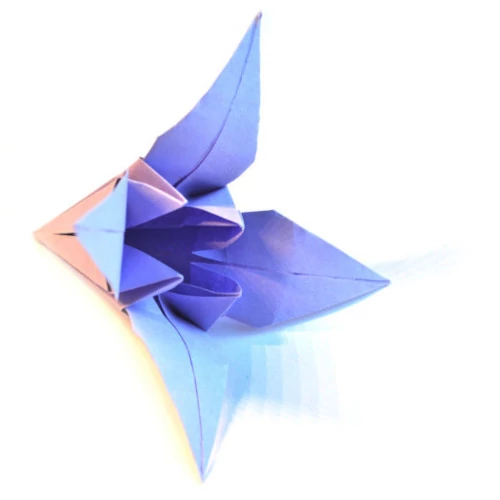
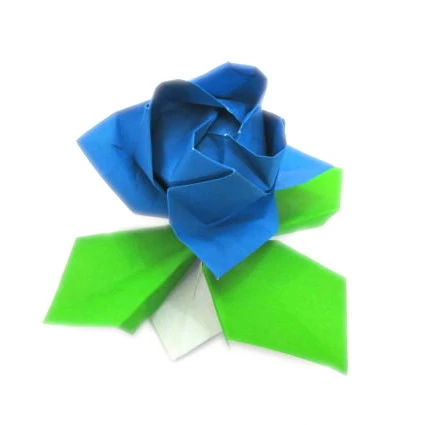
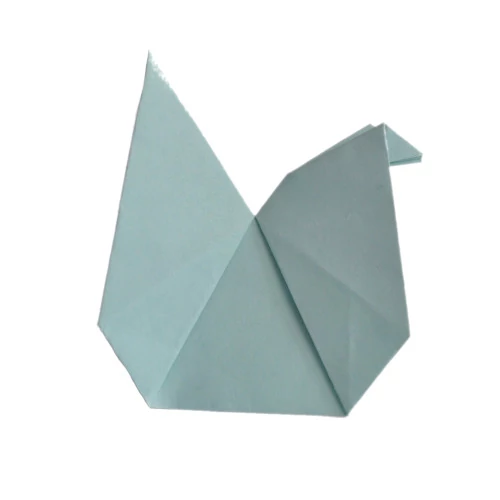
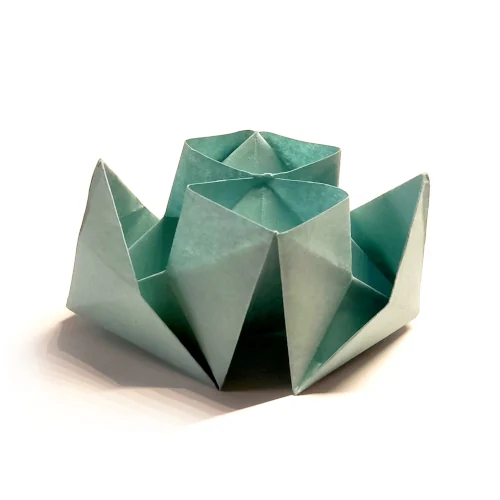
Small self-made items are great for gifting.
You can just try this
lily flower,
which can be done in about five minutes with some practice.
Material
In theory, any paper can be used for folding.
Though, it would be best if you consider some aspects:
First of all, there is ordinary origami paper, commonly
of size 15 x 15 cm. This kind of paper is generally
less thick (60-70 g/m2) than printer paper
(ca. 80 g/m2).
Thick paper is more robust but makes it harder to
fold many layers and may tear faster.
Some kinds of paper are reinforced with other materials.
They can be simultaneously very thin and durable.
The paper size is also important. The size of the
final model will be only a fraction of the paper,
which means some minor details can become challenging
if folded with a paper that is too small.
However, the common size of 15 x 15 cm
is sufficient for most models.
Most of the time, you can just stick to regular
origami paper or even cropped printer paper.
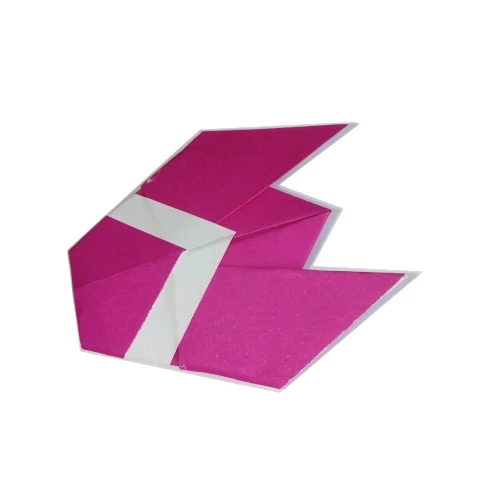
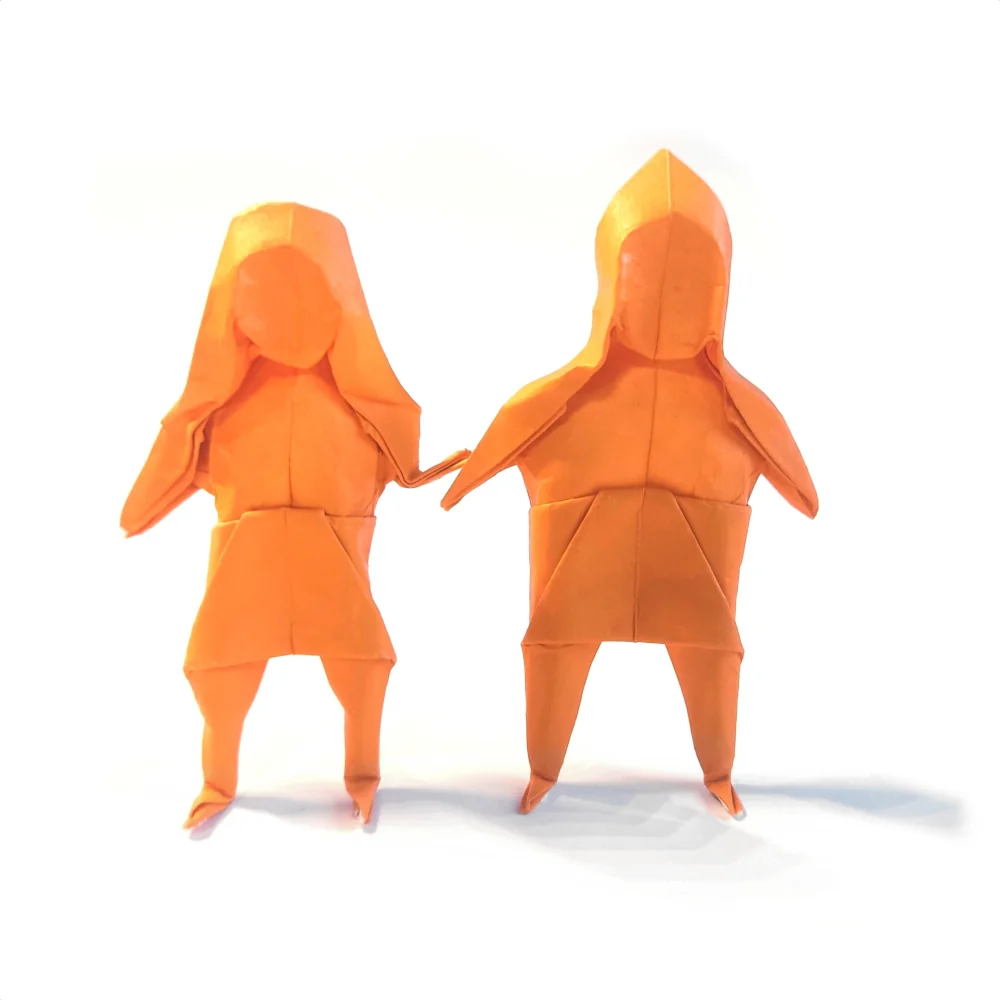
Apart from this
Buddha,
most models on this page are folded with 15 x 15 cm
origami paper.
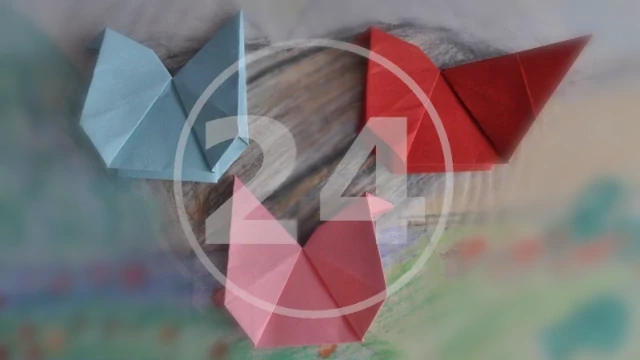
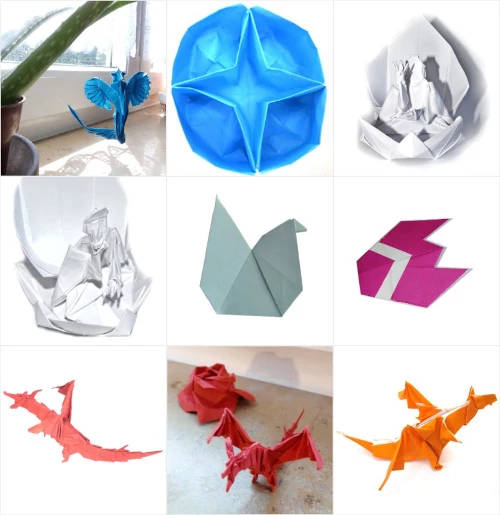
Traditional designs
Traditional origami is a perfect introduction
to paper folding. These models are quick and easy
to fold. Paper folding is an ancient art and some
designs have been known for several hundreds of
years. You can find a selection below:
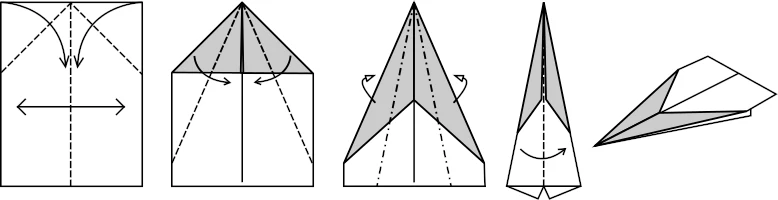
Paper airplanes
Paper airplanes are an entire category of paper
folding, which enjoys great popularity. They are
intended to be played with and thus can mostly be folded
within a few minutes. The base of most paper planes
is an A4 paper (210 x 297 mm), unlike the square used
with many other origami models.
An easy paper airplane and an explanation of the symbols used in diagrams can be found
further below.
Folding technique and diagrams
Origami is not only an art but also a subject of
scientific research. Many geometrical and mathematical
applications can be combined with origami, and we can
describe the characteristics of paper folding using
mathematical theorems.
The foundation of publishing paper folding instructions
is a uniform and intuitive notation to document the
folding process and each individual step.
The most prevalent notation was originally developed
by Akira Yoshizawa and is known as the Yoshizawa-Randlett system.
These are the most important rules:
- Dashed lines mark valley folds. They resemble
the cross-section of a valley. Arrows indicate the
direction of the fold.
- Lines of dots and dashes are mountain folds.
- The remaining continuos lines mark where the paper
has been creased by previous folds.
- A two-sided arrow instructs you to execute the
fold and then unfold it. Those pre-folds are
a preparation for later folds, which may include the
pre-fold itself or use it as an orientation.
This arrow is also often drawn as a back and forth
arrow
- An arrow with a vertical line through it indicates
that you shall repeat one or more steps at the pointed location.
There are many more rules to represent the large number of
possible folds, some of which are self-explanatory.
However, these few elementary instructions are sufficient to
fold a variety of models, including the paper airplane above.
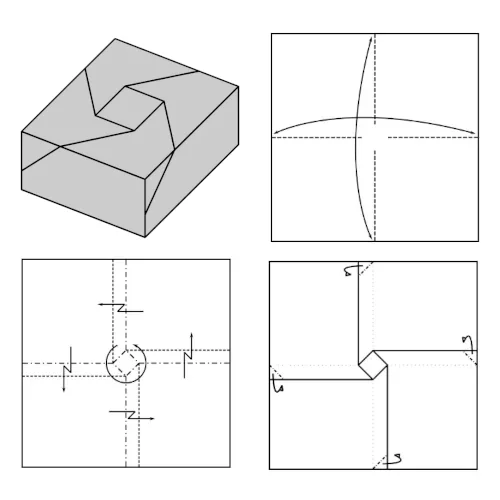
Geometry and math
Example: How to divide a paper into thirds, fifths, or sevenths: Divide paper